AB-FHxxx series cameras Software Operating Steps
(The software is only compatible with Windows PC, all operations are only on Windows PC)
The camera is connected to a router or switch, and the camera power is connected. Install IPBatchTool and VMS software on the same router Window PC
- 1 --- IPBatchTool Instructions
- 2 --- VMS Instructions
- 3 --- RTSP Instructions
- 3 --- Mobile phone operation method
Software Download
IPBatchTool, IP search tool, can easily debug camera function
VMS LAN PC monitoring software
IPBatchTool Instructions
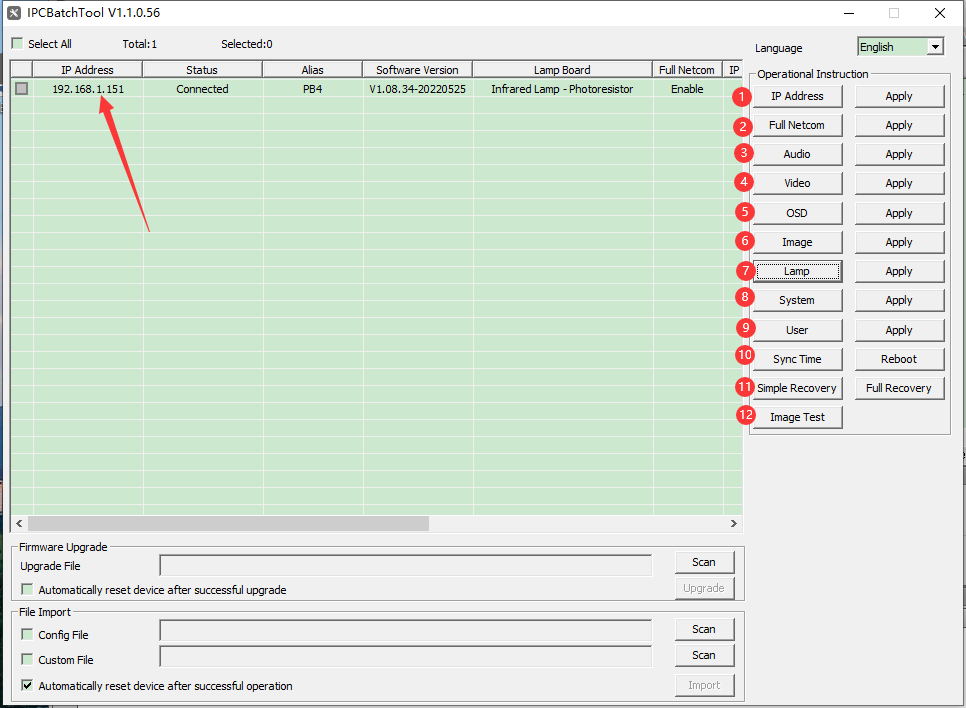
If you need to modify a function, you need to select the camera IP that needs to be modified. After the modification is completed, remember to click Apply
If you need to modify a function, you need to select the camera IP that needs to be modified. After the modification is completed, remember to click Apply
| 1 | IP Address | It is recommended to choose DHCP, which can automatically be the gateway address of your switch or router |
2 |
Full Netcom | Select IP adaptation |
| 3 | Audio | If your camera supports audio, you can adjust the volume |
| 4 | OSD | Display time camera name on screen |
| 5 | Image | IP cameras usually do not need to be selected |
| 6 | Lamp | don't change |
| 7 | System | Adjust camera language and time |
| 8 | User | The camera default name is admin and password is 123456 |
| 9 | Sync Time | Set the camera to be the same as the local time |
| 10 | Simple Reconery | Restore simple settings |
| 11 | Image Test | Camera images can be tested |
VMS Instructions

Start VMS software
Name: admin
Password: admin

Select Add Device automatically,click OK-YES
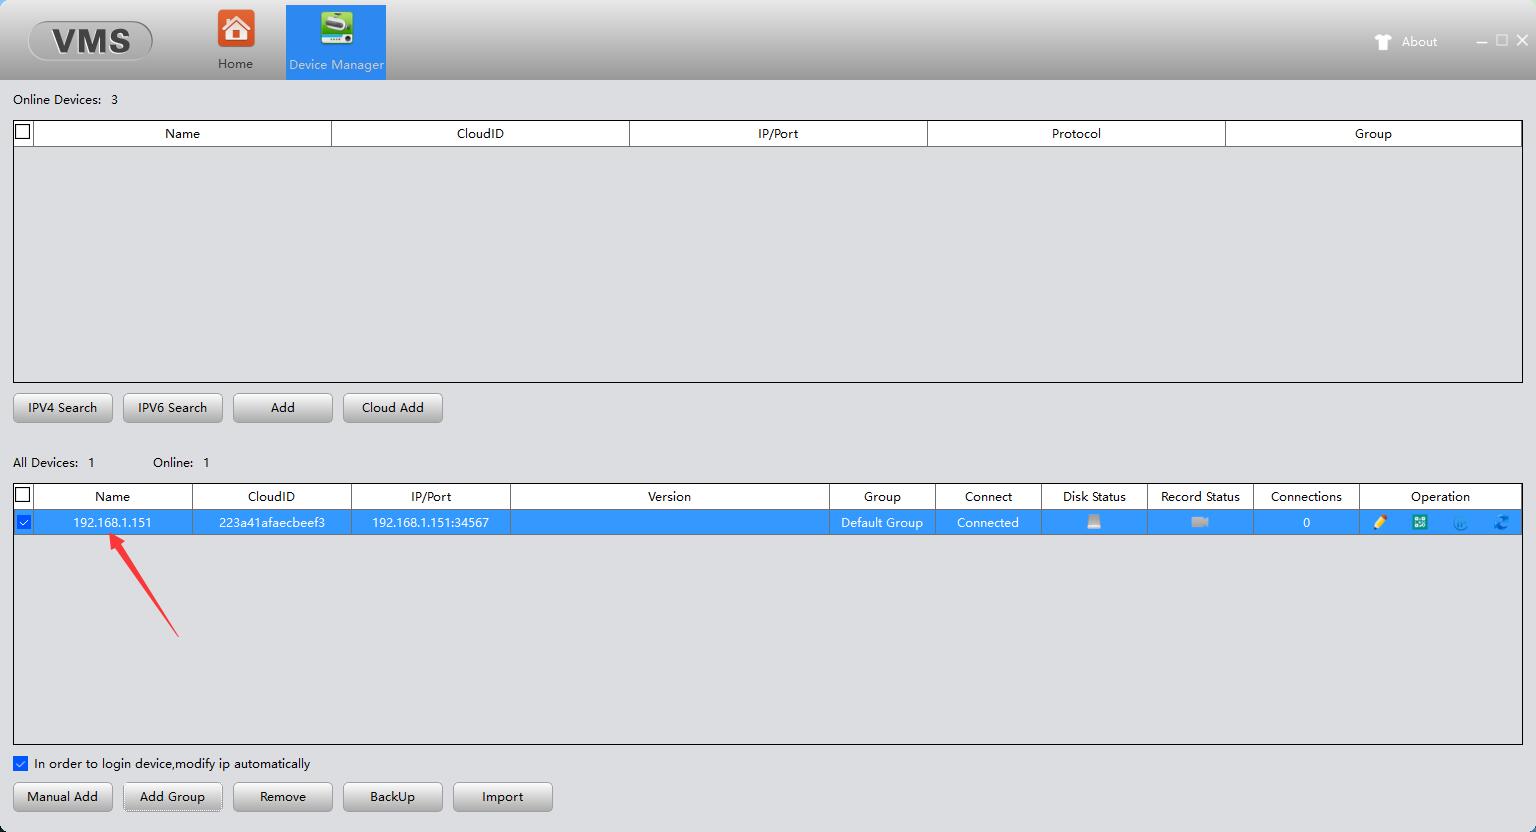
Camera IP has been added to VMS
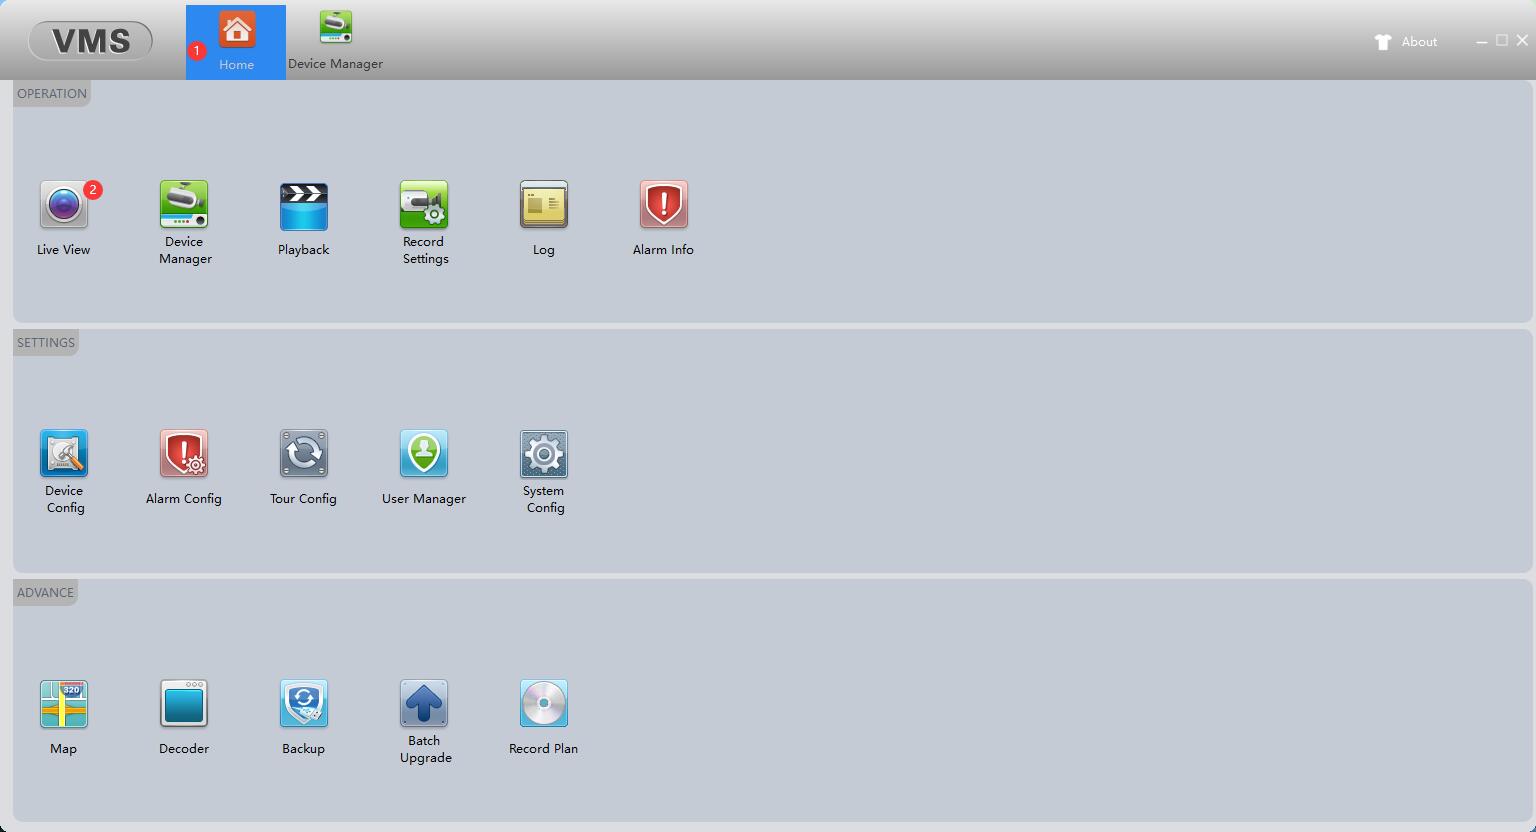
Click Home - Live View
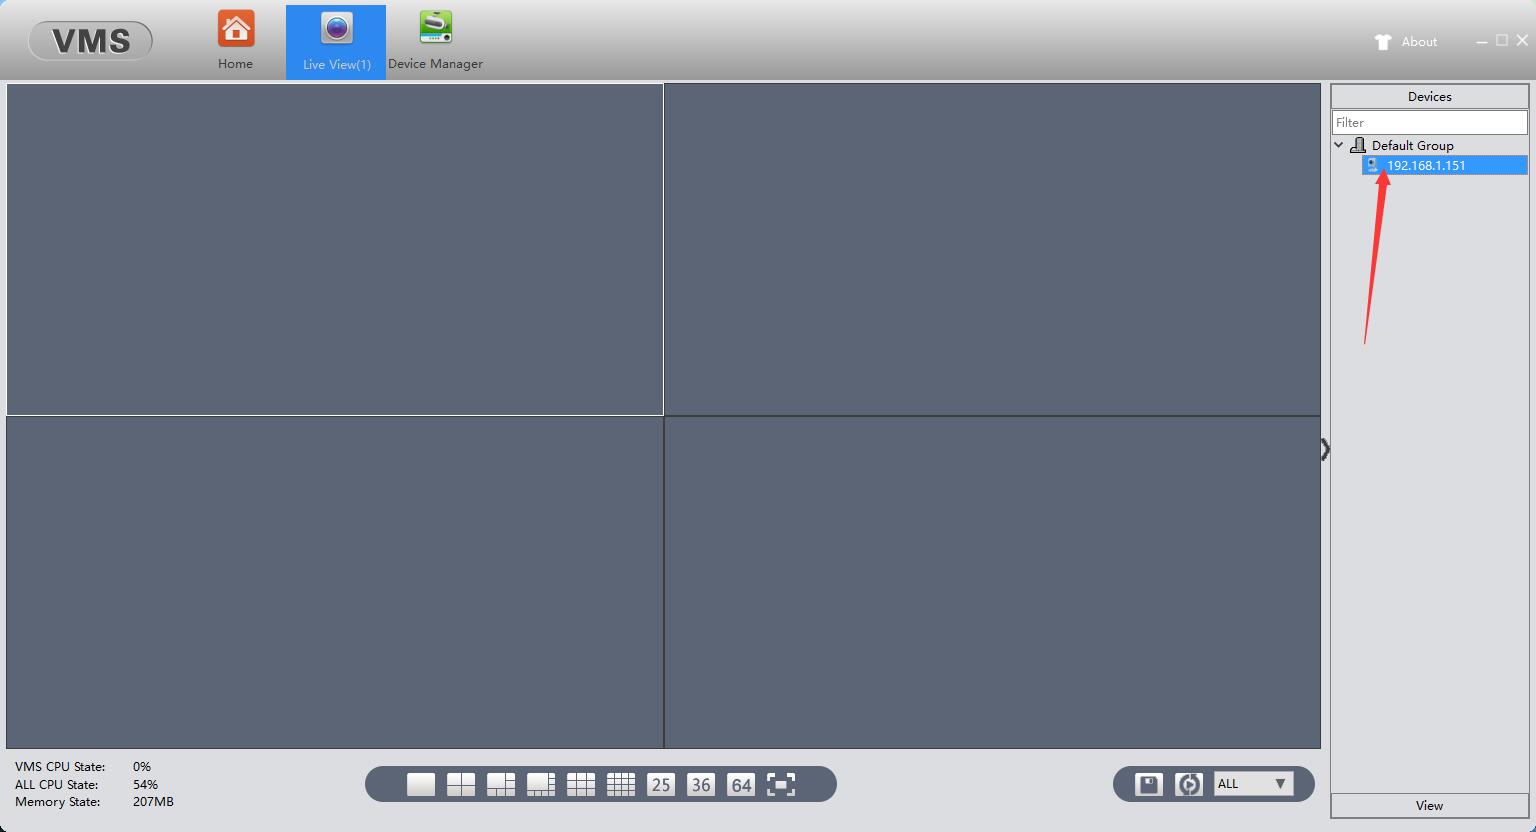

Double click the found camera IP, you can see the image
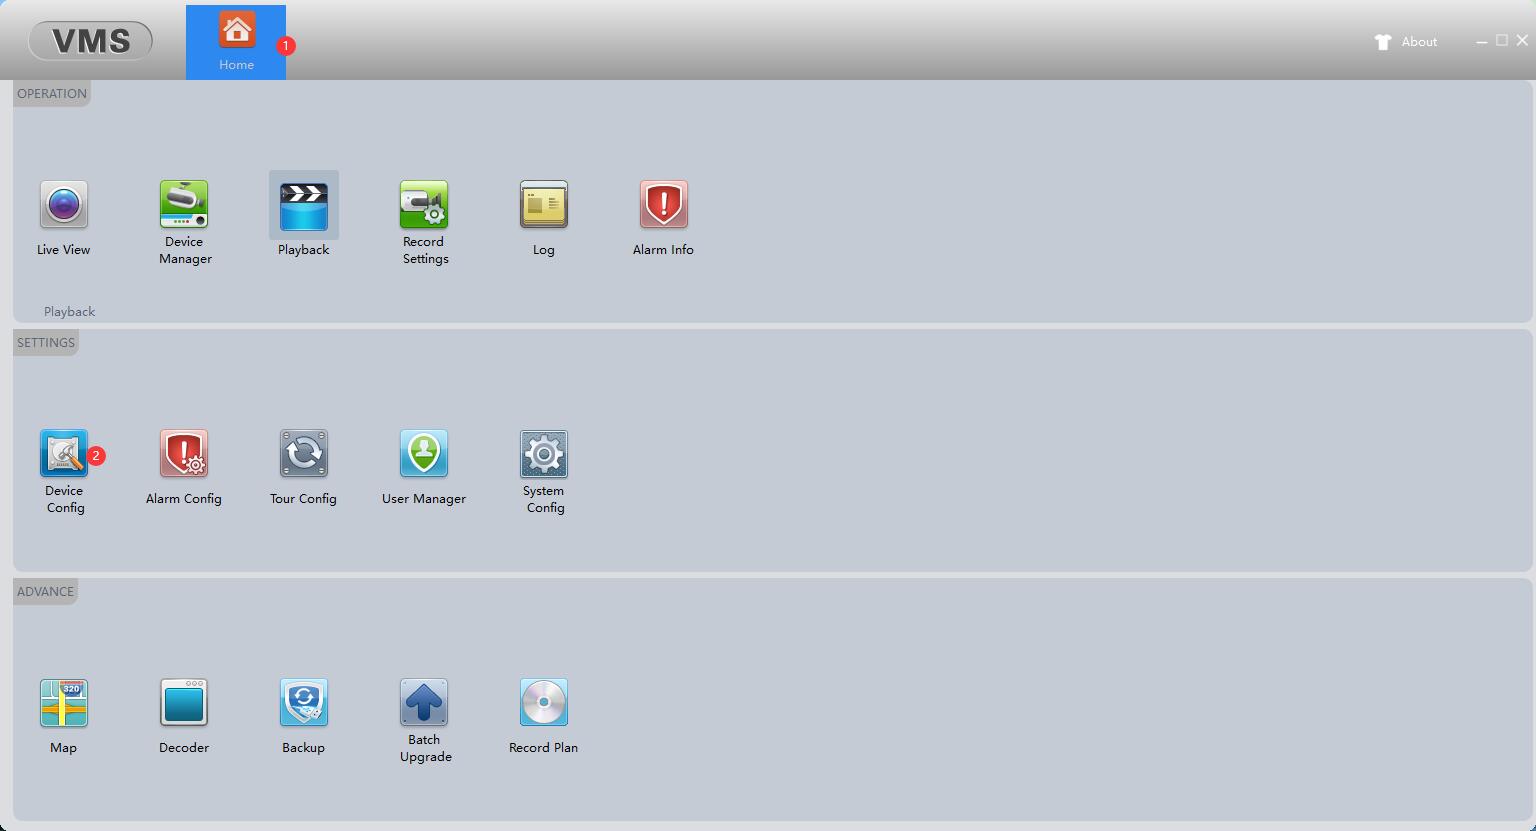
Click Home - Device Config , click the IP that needs to be configured, and set the camera menu according to your needs
Email alert setting method
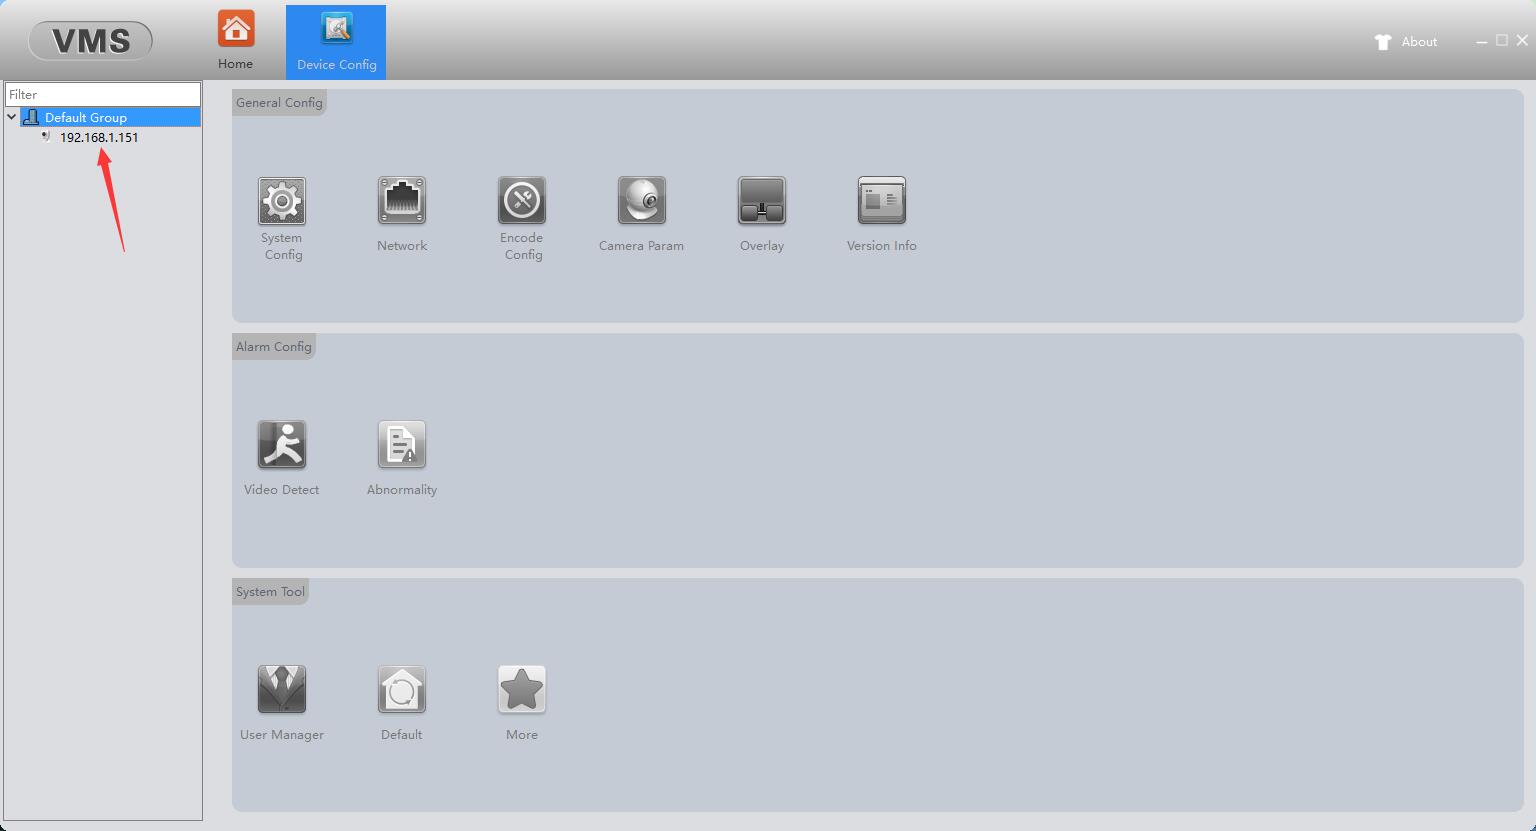

Click Device Config-Network , select Email , click Enable, enter your information, and then click Test , if the settings are correct, it will display TEST SUCCESS , and your email will receive a test email ,click APPLY -OK
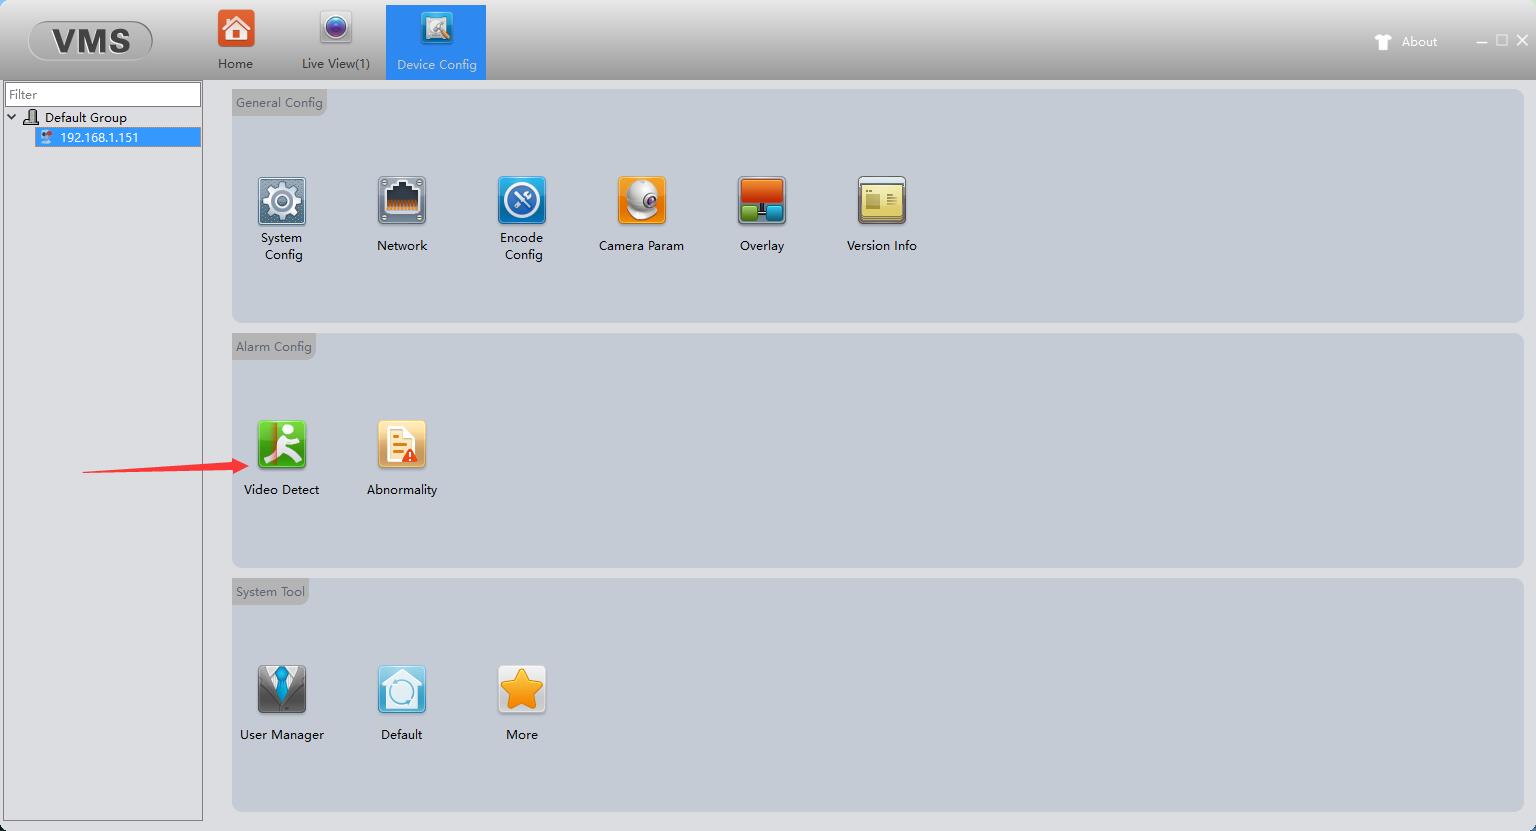
Click on video Detect - Enable
Select the area and time according to your needs
Enable Send Email and click APPLY -OK
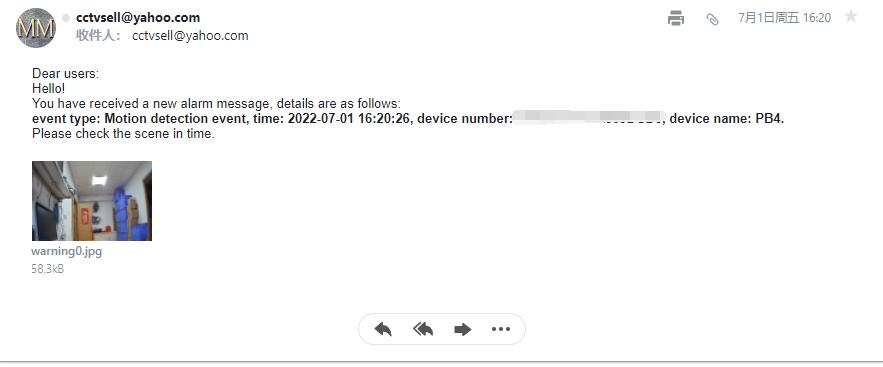
If the camera detects object movement, you can receive a warning email with a picture in your mailbox
How to use RTSP
Main stream
rtsp://you camera IP:554/stream1
Extra stream
rtsp://you camera IP:554/stream2
Mobile phone operation method
Download Linklemo app from Apple or Google Store
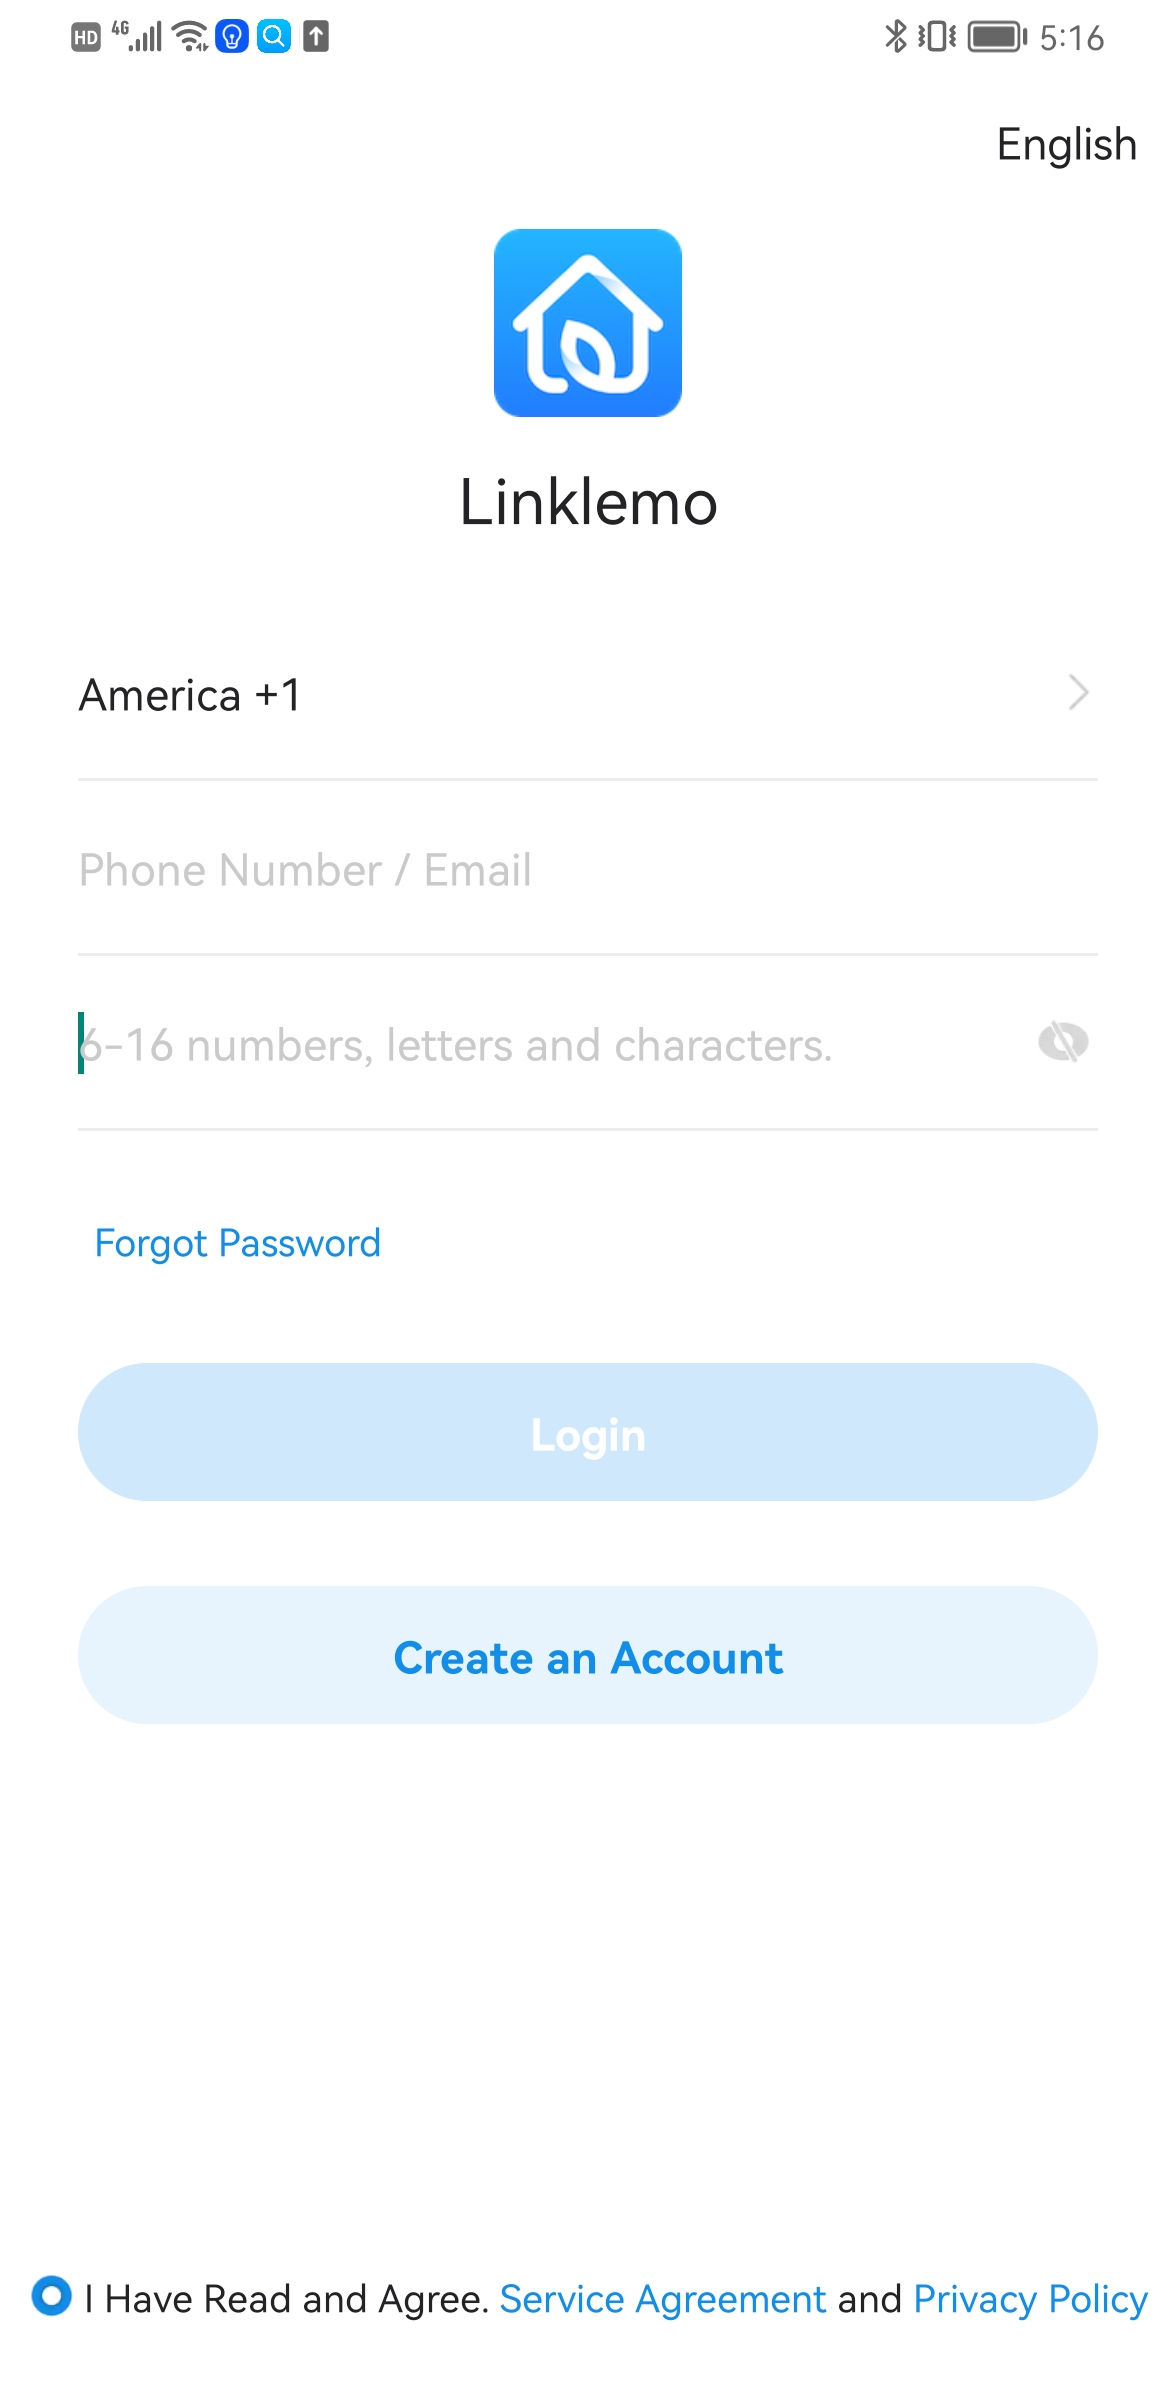
Create new account
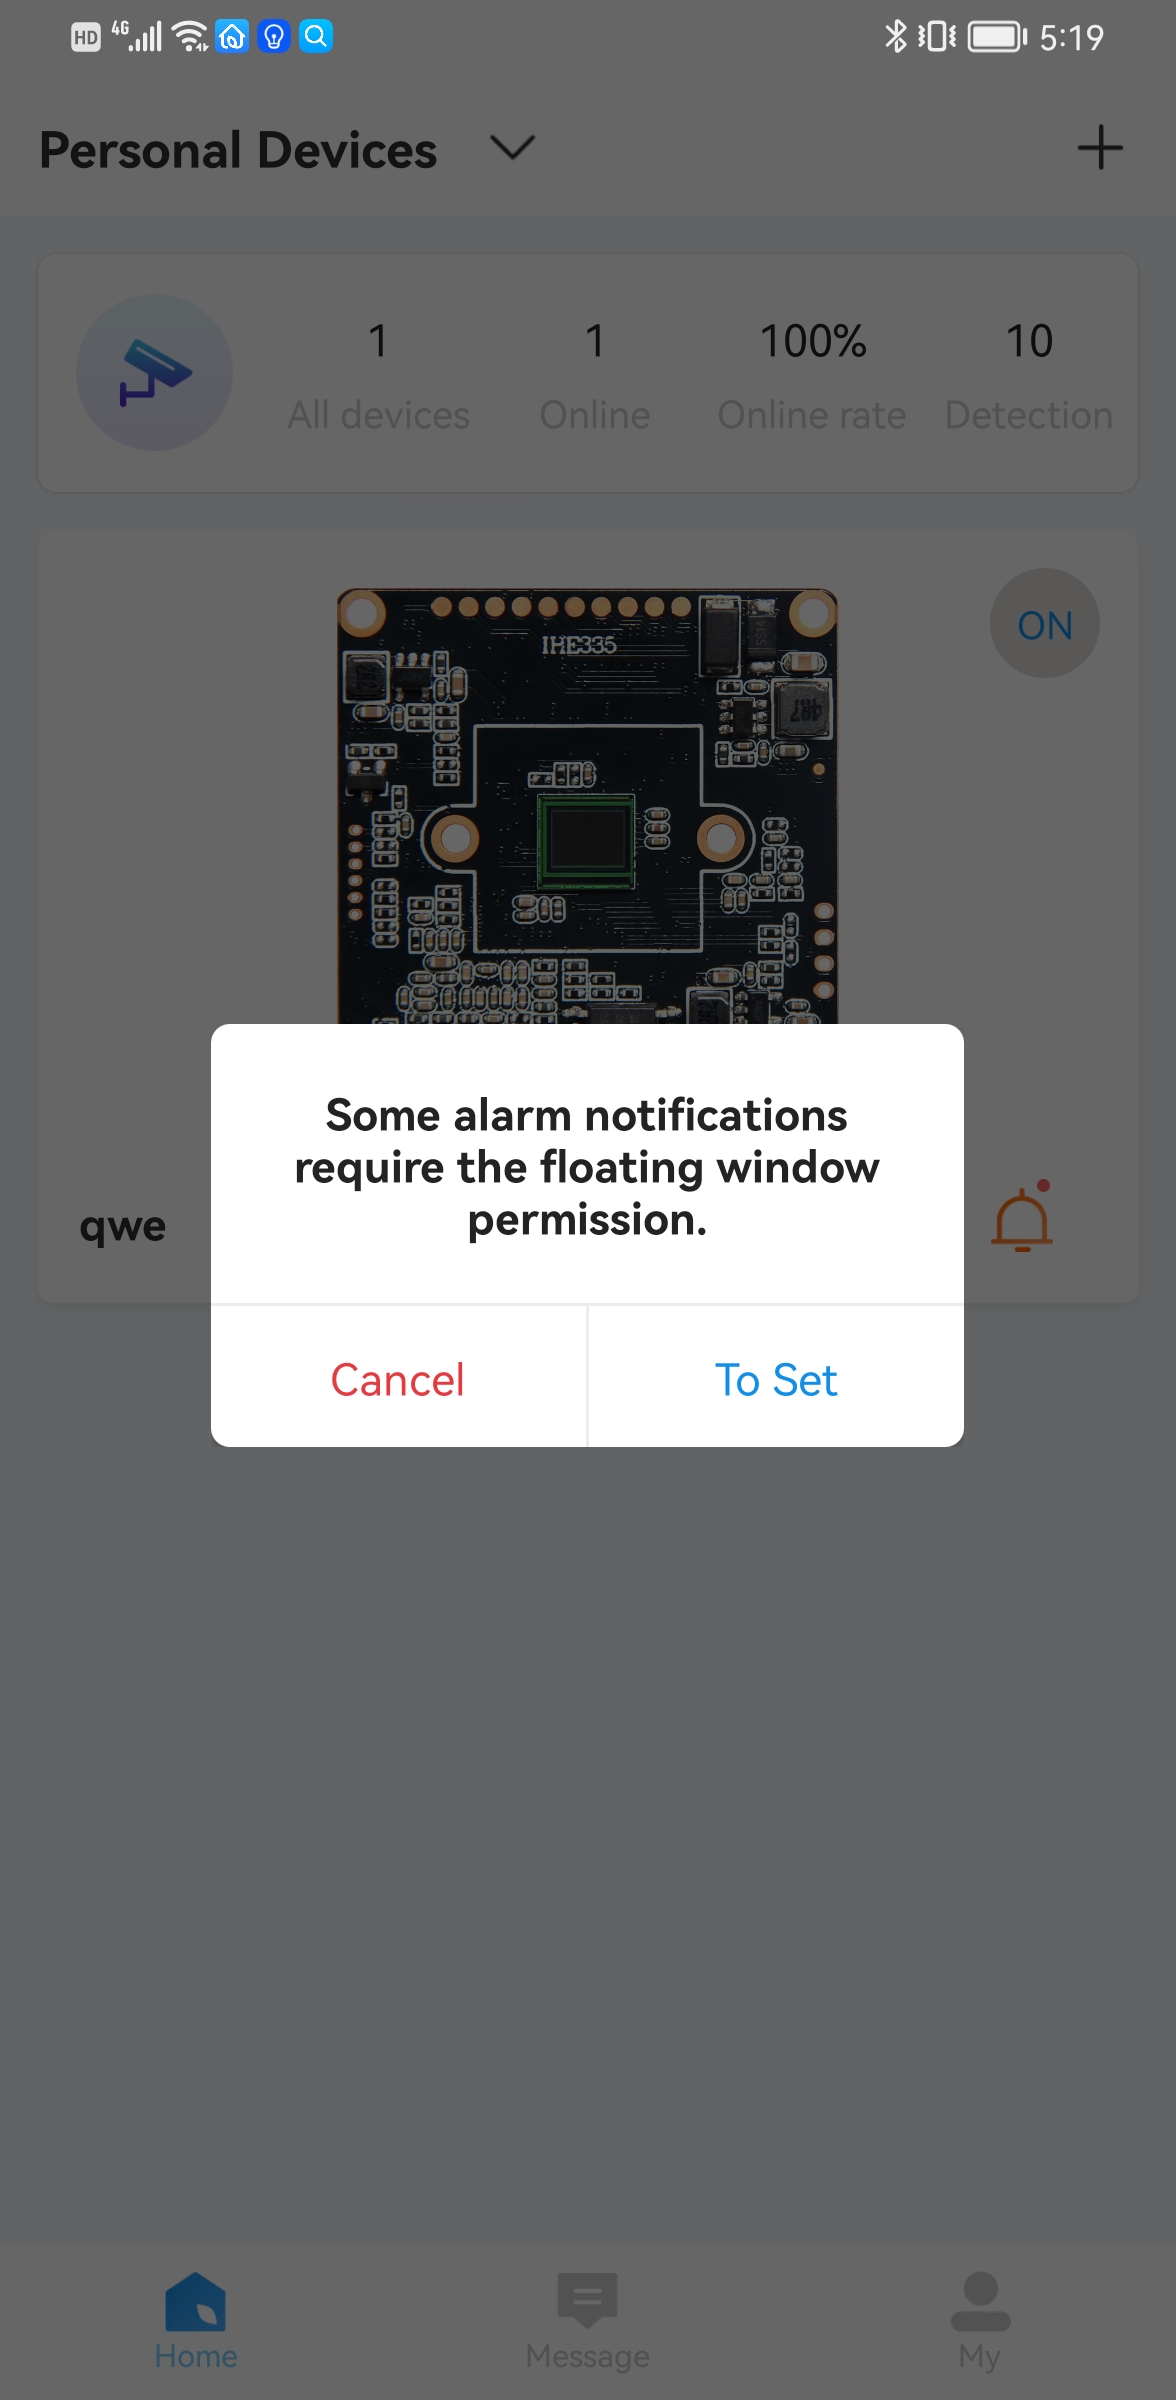
If you need to push the motion detection to the mobile phone, you need to open the push, click To Set
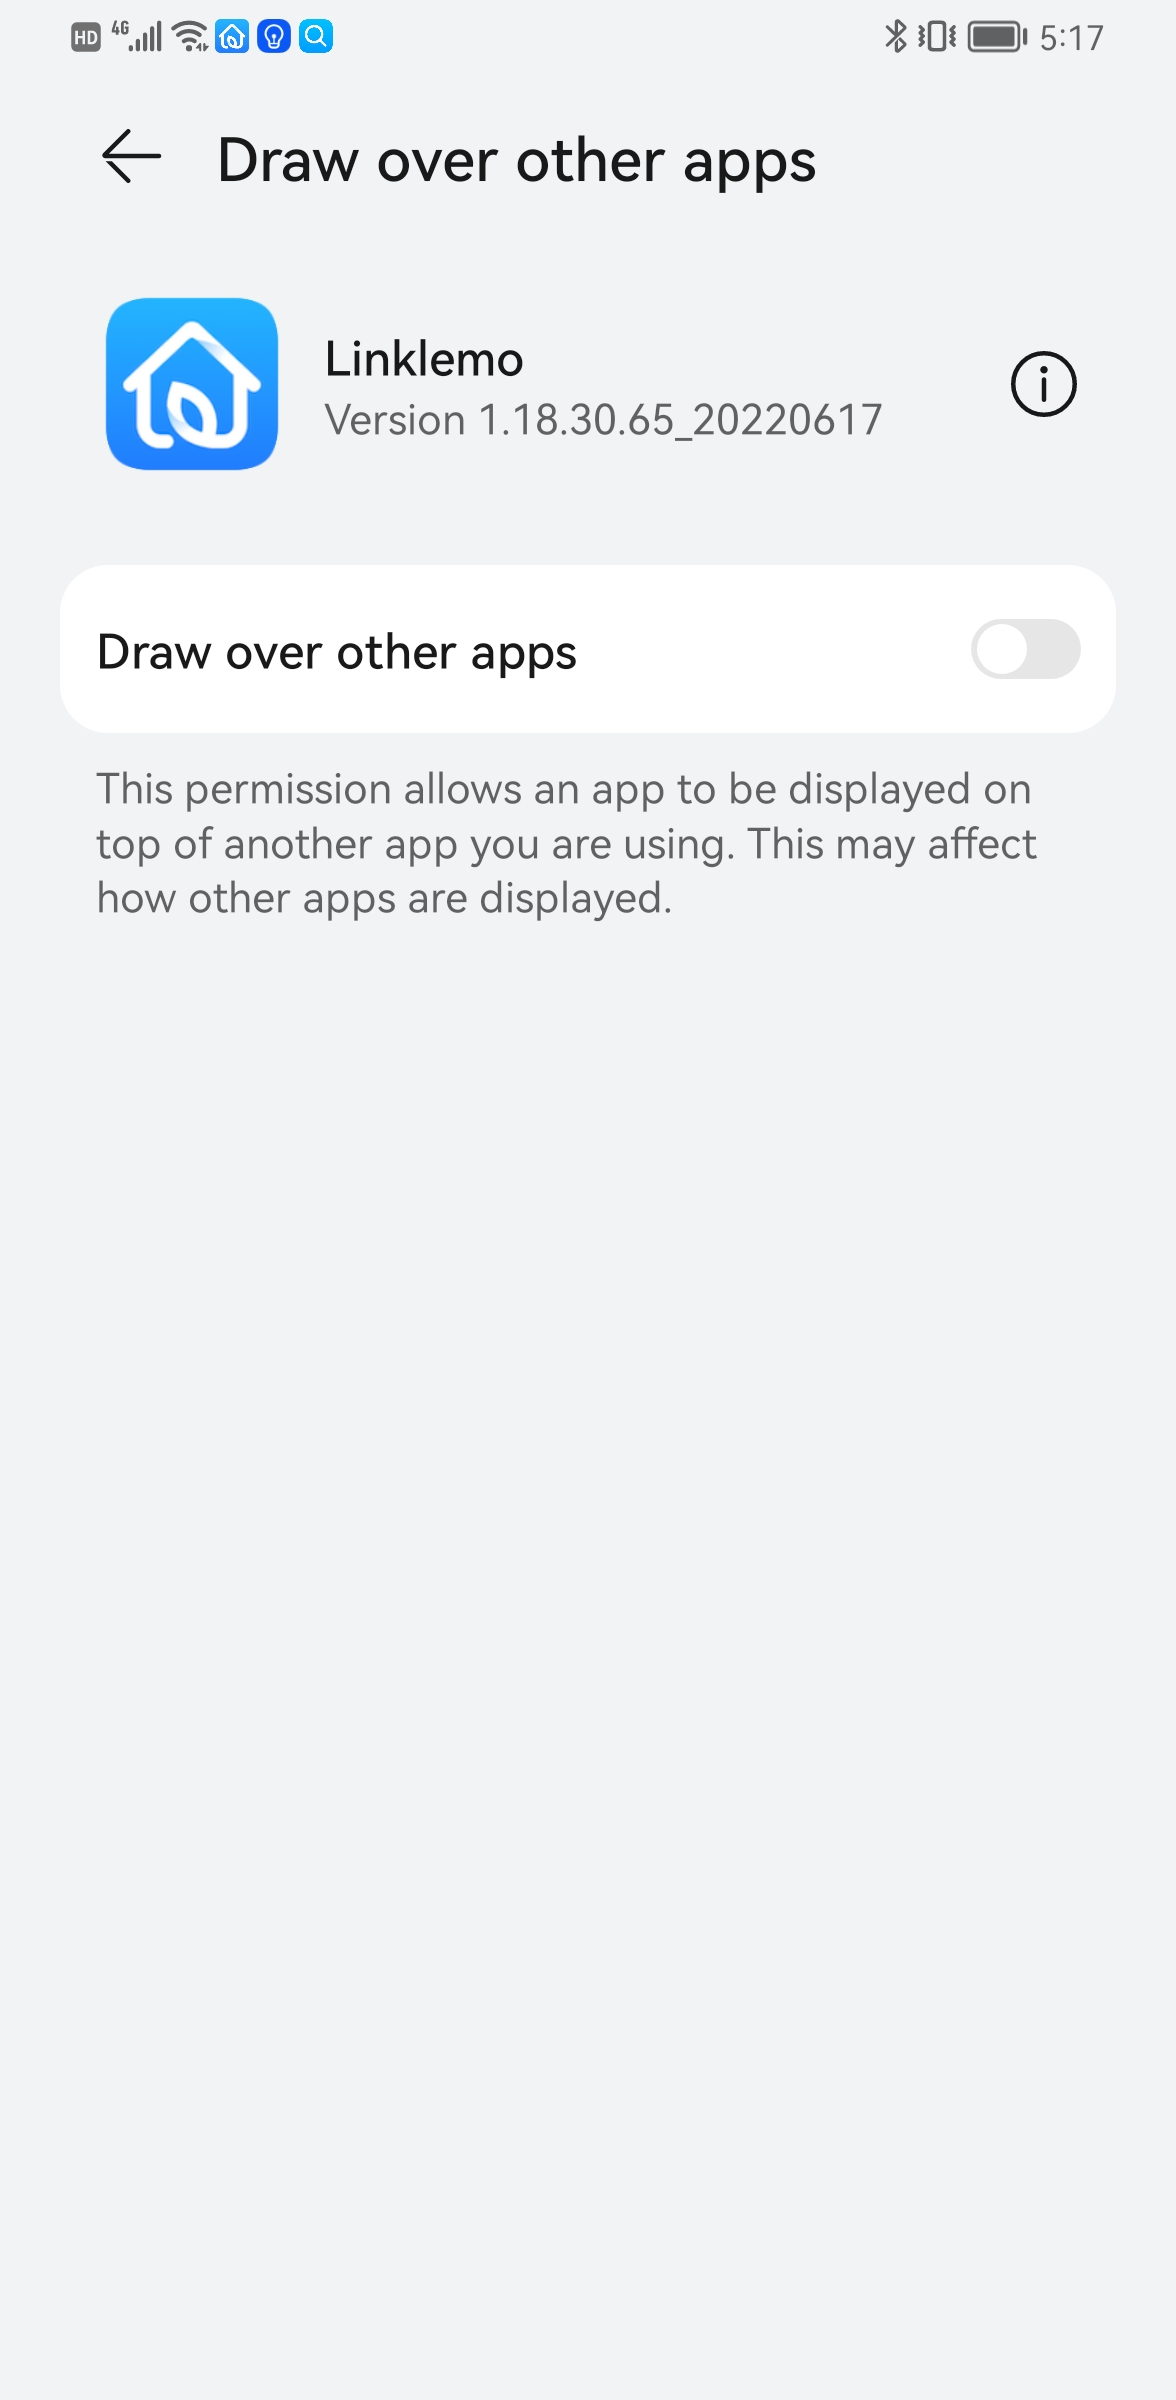
Enable
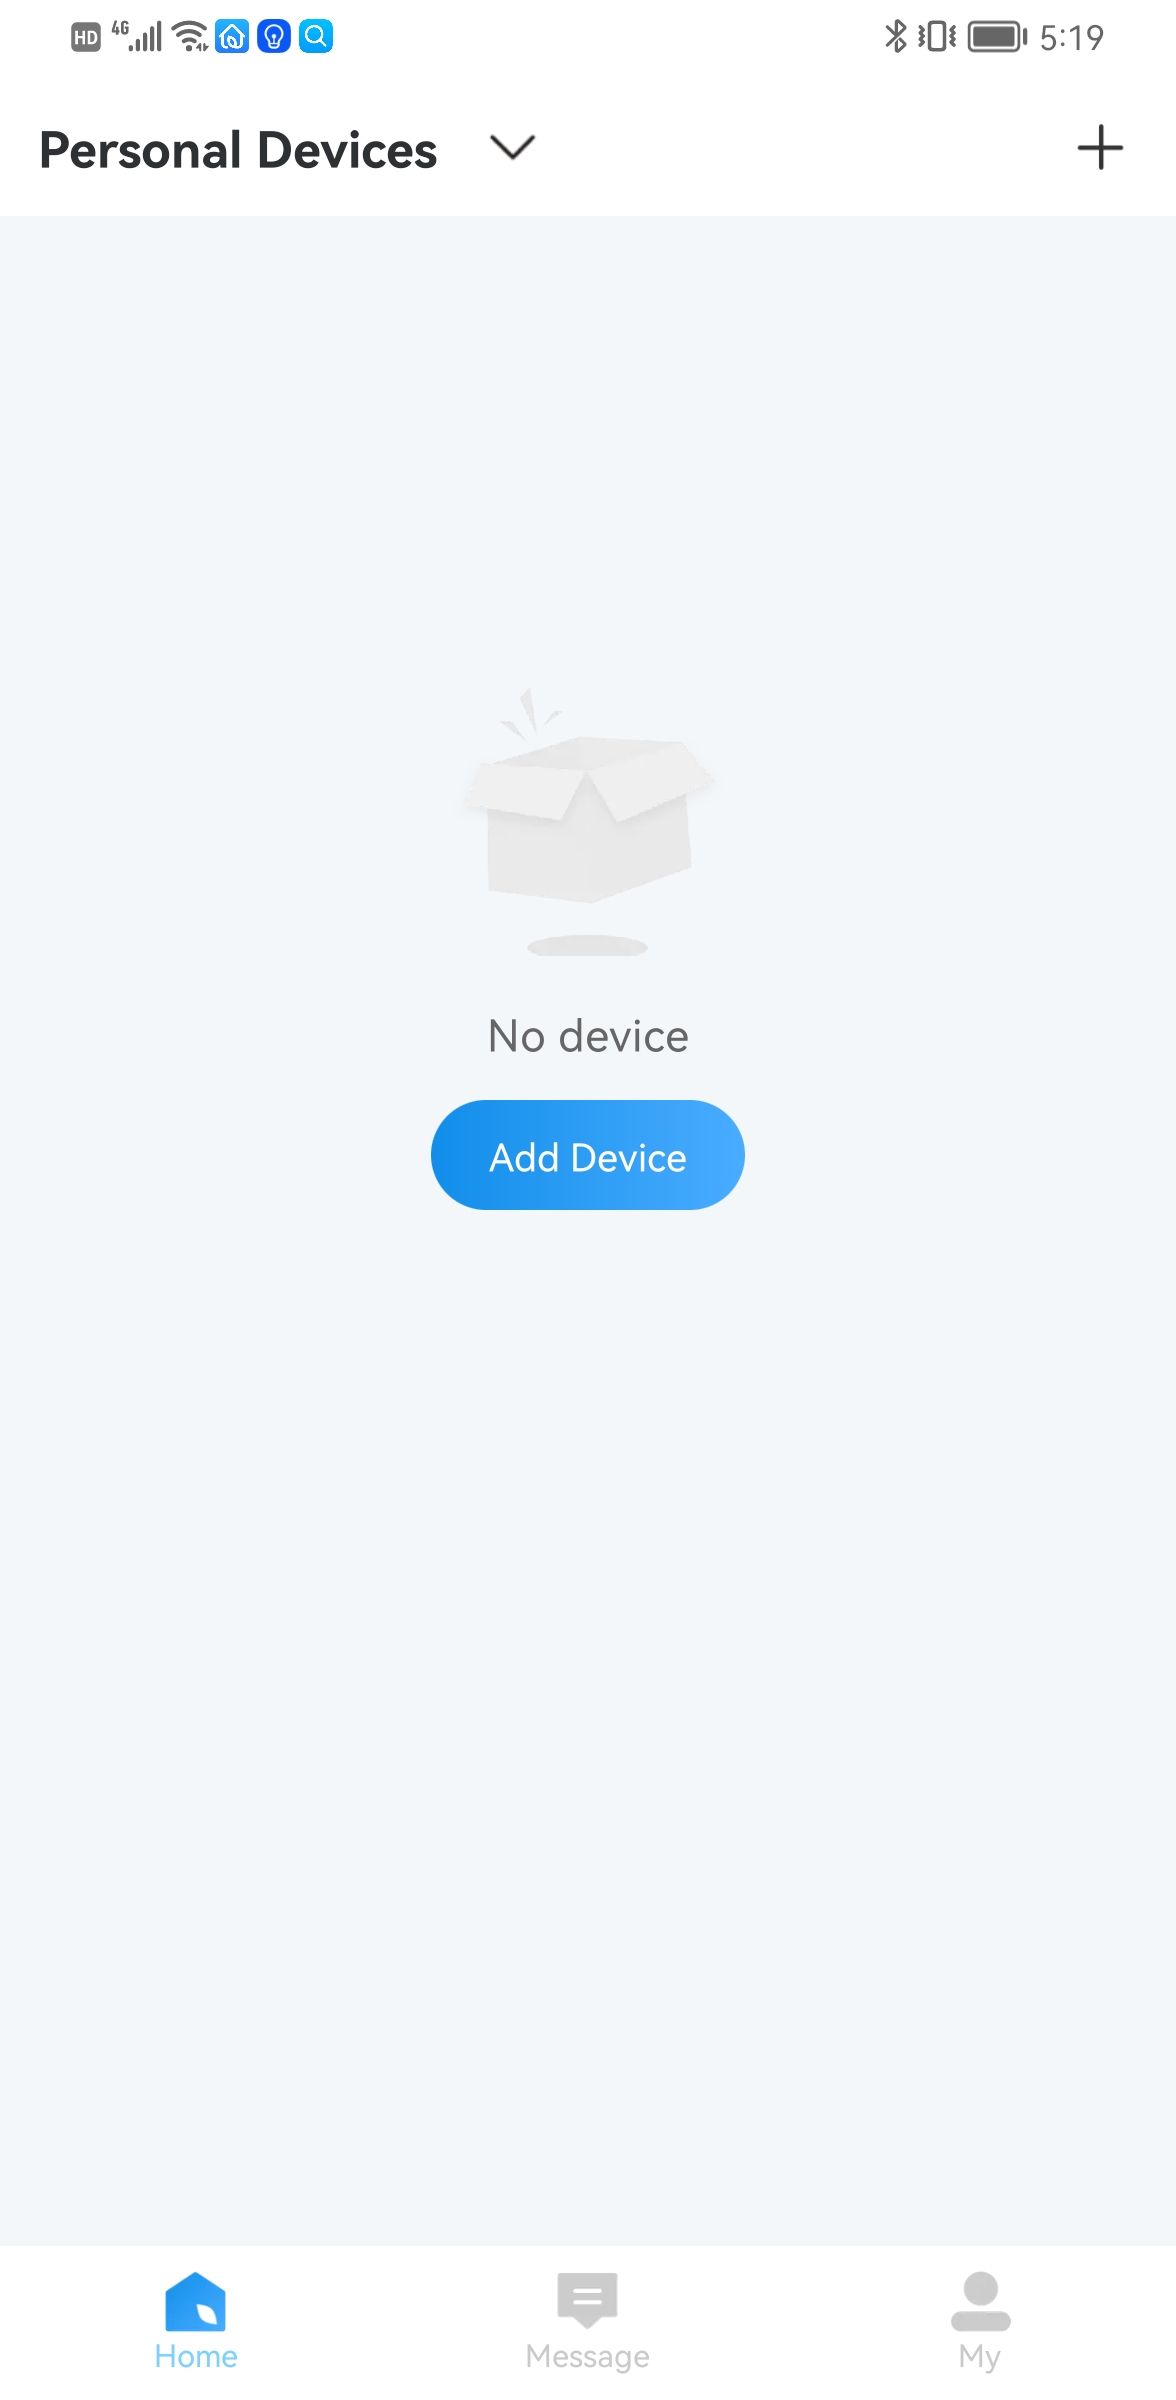
Click Add Device
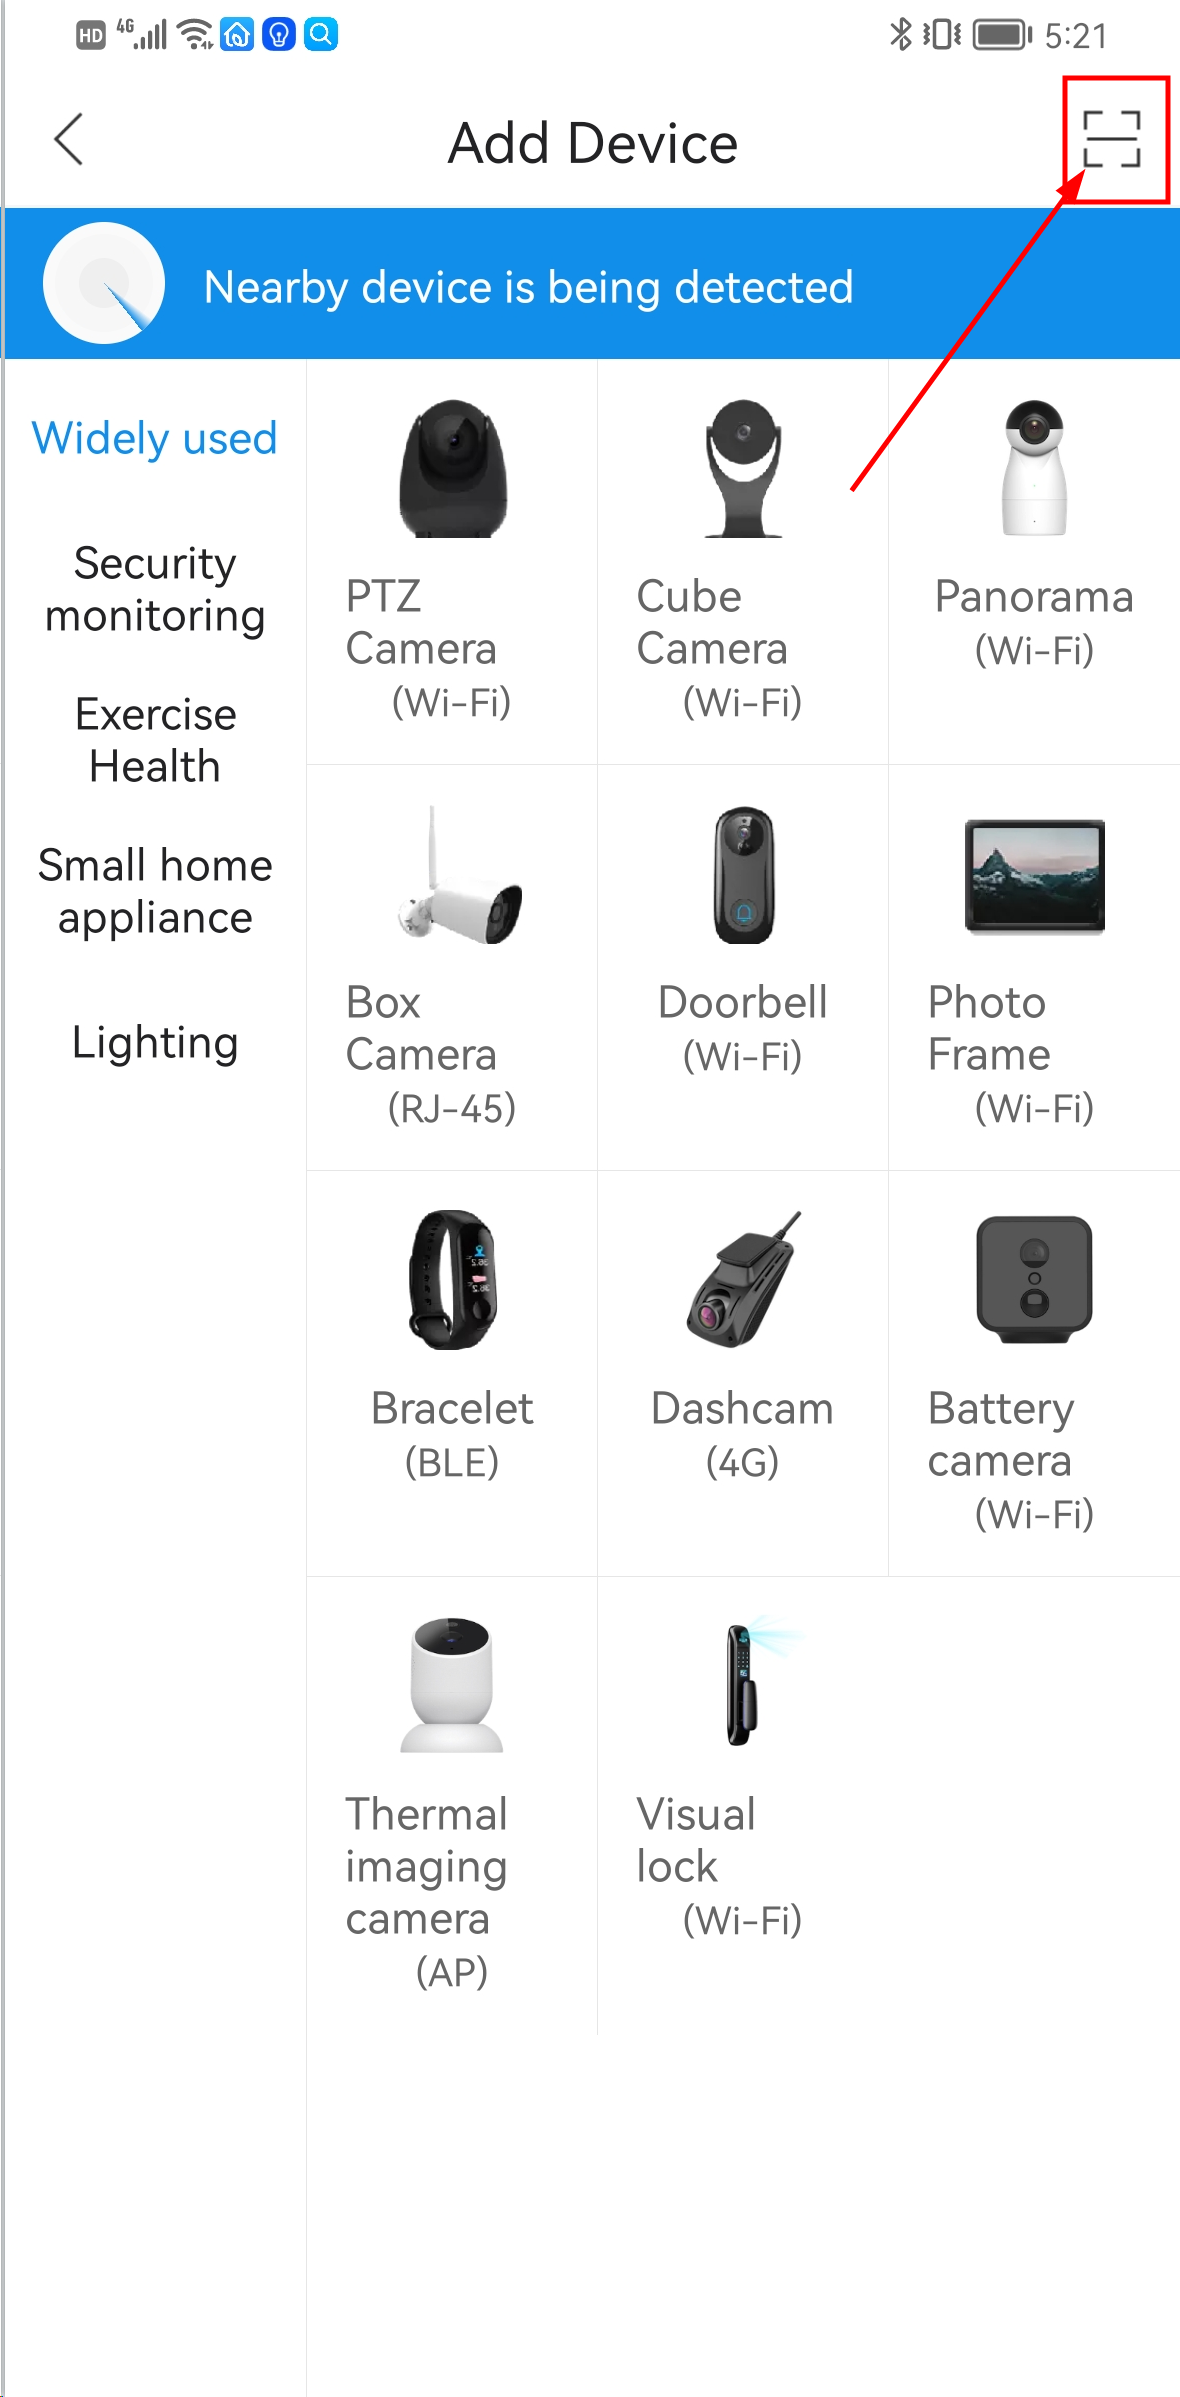
There is cloud ID in the camera box, click scan according to the red arrow, scan the Cloud ID QR
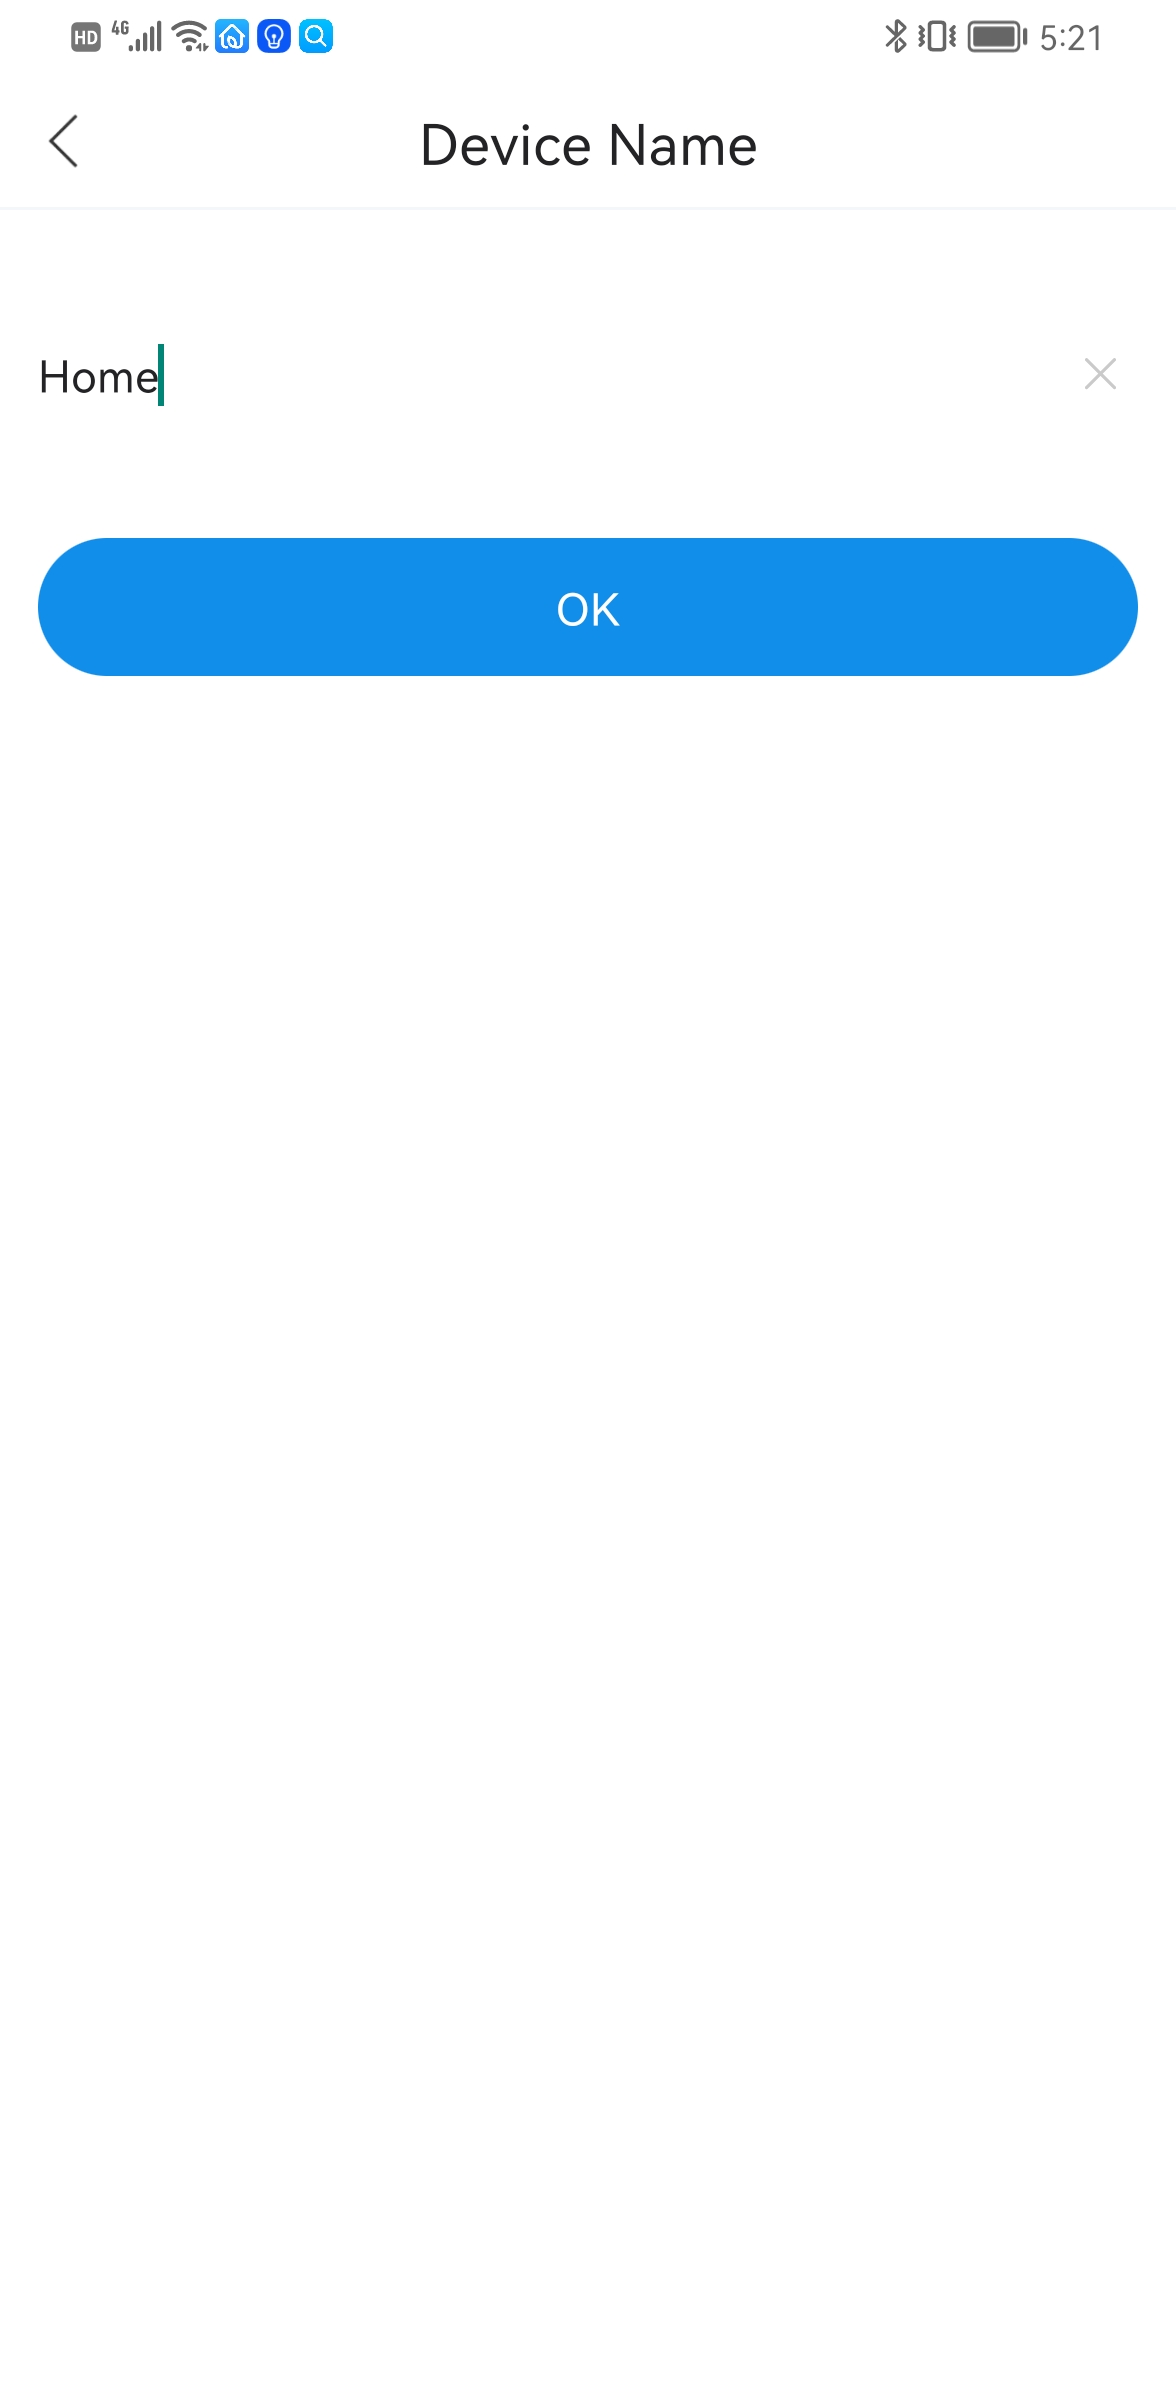
Enter any name

Click on the image, you can enter the monitoring interface

If the camera detects object motion, it will send a push message to your phone